I had set out from Bergen, Norway to attempt to capture Northern Lights and the historic Stave Churches of the 12th Century. I had been monitoring the aurora activity and my timing aligned with an active sun spot known to produced geomagnetic events full of beautiful multicolored auroras. I knew that I might be too far south, and that the weather might be too cloudy to get the results I was hoping for, and yet I was dedicated to making the most of whatever conditions were presented to me along the journey...

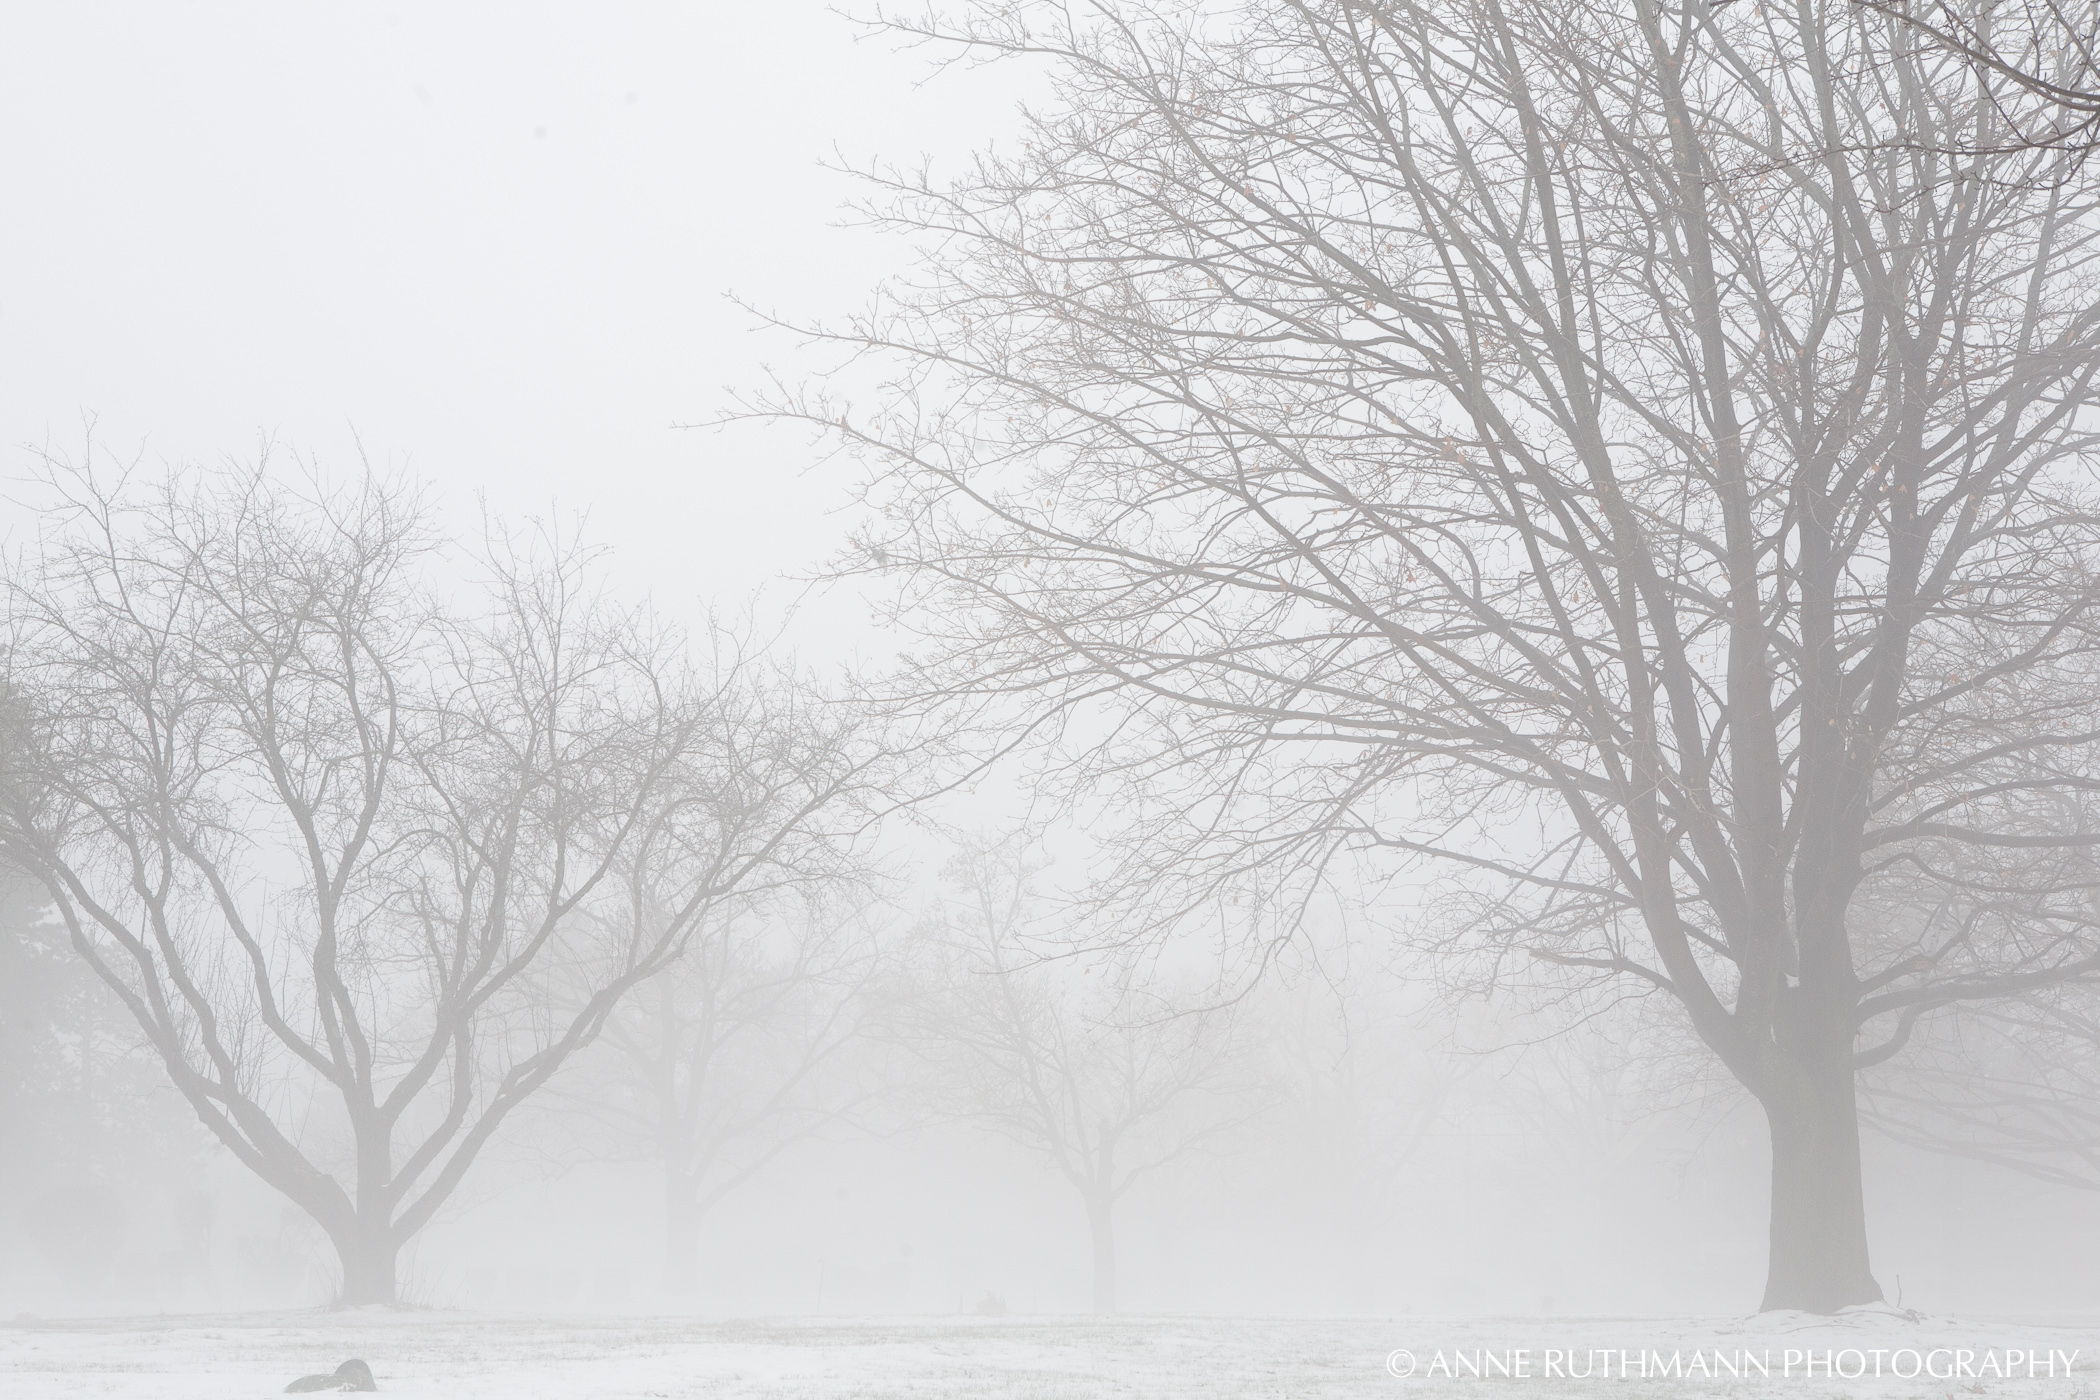
What nature provided was cold, wet, foggy, and alternating between sleet and snow during my drive. The roads were slippery, which meant going half speed around winding mountainsides and feeling like I might never reach my destination before I'd have to turn back.
I drove for nearly 24 hours straight through the inner rural land of Norway. I found myself hypnotized by the long mountain tunnel lights with little more to look at than the passing of florescent beams overhead and grey mountain tunnel walls. The only people I encountered were tunnel workers, ferry workers, and the restaurant staff at AEgir Brewpub Flamsbrygga who provided a welcome respite from the dark winter isolation that comes with venturing off alone into the country when others stay cozy in their fireside homes.
In an attempt to get above the cloud line, I drove up two different mountainsides. The first time near the town of Flåm, resulted in my car being stuck in 2ft of snow as the depth of the ground under the snow cover did not match the rest of the road. I was alone on the side of a mountain with no shovel and no help. Just me, the bitter mountainside wind, and two right side tires lodged into deep snow. No cell service, no wifi. The closest home I could see if I needed to knock on the door was at least a mile down the side of the mountain on icy road. After a significant amount of shoveling with my boots and rocking the car back and forth to pack the snow for greater traction, I did get that car unstuck and made it safely back down the mountain. Despite this setback, I was still determined to see if another mountain top opportunity allowed for clear sky views. The cloud cover was low and made it appear as though an opening could still be found above.
In another attempt to get above the cloud line, I headed toward the Sogndal Airport which appeared to be on top of a mountain. I thought, surely an airport road will be well-cared for to allow safe passage to the top of the mountain. Half way up, my car stopped moving forward and started sliding backward on ice, even as my wheels spun forward. My heart started racing- how far back would it slide before stopping? Would I be able to control the direction of a backward moving car being pulled by gravity? Would the rear end be stopped and potentially crushed by trees or would I miss them all and go over the mountain? I asked spirit for help.
The car stopped. I took a deep breath and collected myself and evaluated my options. There was no safe place to turn around and the ice left me little promise of how much control I might have while turning. Either I continued to attempt forward momentum and overcome this icy stretch, or I reversed with less control. I inched forward, slid back further, inched forward, slid back further, and then inched forward again until the tires finally caught enough traction to recover all the forward momentum I'd lost and helped me reach the top of the mountain, albeit with white knuckles and knotted stomach. I just felt happy to be alive.
Never once did a car come from the opposite direction or from behind. The airport was not open and no flights were due in or out until the morning. The whole reason I endured two snowy icy mountain climbs was lost to more clouds. The clouds were too thick to see the night sky and by this time, I could not wait hours for clouds to pass because the drive back would likely take just as much time and I needed to return the car to the city by a certain time and get some much needed rest.
Just as I was feeling completely defeated, now realizing my next task would be to safely descend the mountain's icy roads without losing control of the car, my phone started sending me alerts. The outside world reminded me that I wasn't really alone in this moment of defeat. Apparently there was an open WiFi connection at the airport and the phone had automatically connected. How should I take advantage of this brief moment of connection with the outside world I had along this journey?
At the very least, I could send an update to family about my circumstance and suggest how long they should wait to hear from me again before being concerned about my safety. I updated my digital maps and GPS orientation, viewed the roads I might take back and what different challenges they might present. I figured out how tell the tunnel roads apart from the regular roads on the map to avoid the many tunnels that made it difficult to stay awake and focused on the road. I checked the satellite cloud cover movement and reached resolve that I would not see Northern Lights on this trip. That resolution also gave me the renewed drive to widen my focus from being so narrow and capture what normally would not be available in more ideal conditions.
The trip back down the mountain unfolded with much more control. I stayed slow and measured, never letting gravity control the car so that the tires could always grip some part of the road and ice. Slow and steady. Meter by meter. Safely back to flat ground and to finish the rest of this journey, embracing more of what nature would allow in the conditions provided, rather than what my humanistic determination would seek to force upon nature. I was grateful I was safe, still had plenty of gas, working heat in the car, and renewed alertness to continue moving forward now 14 hours into my journey into rural Norwegian winter.
Having fully accepted that Northern Lights would likely not be possible, I turned my attention to the Stave Churches along my path, preserved and occasionally reconstructed faithfully by modern architects and historic preservationists. Anything I could get of a few Stave Churches would be better than returning empty handed without images to show for all the effort and problem solving I'd already invested into this trip.
When I considered how much time I had left before I needed to drive back to Bergen, it became clear that my only opportunity to photograph any of the historic Viking Church designs in the middle of the country was going to need to happen in the dark. Not just in the dark, but in the freezing cold winter dark. This also meant standing outside for long periods of time to monitor long exposures, as well as battery and camera performance in freezing cold weather. So be it. These are the conditions I would need to create something beautiful in, regardless of what I had originally intended.
When I arrived at the Borgund Stave Church, the only light available to separate the dark church from the dark sky was essentially the light of the partial moon reflecting off the snow at a low angle. There were a few spotlights designed to highlight one portion of the back of the building, but not the side of the building that was most appealing to me and what I wanted to create. The newly fallen snow covered any previous tracks left behind in the cemetery, creating a perfect blanket on which the headstones could form leading lines in the foreground to compliment the converging mountain sides falling to the river behind the church. I found my position and was able to support the long-exposures with the stability of the stone fence and my camera resting on my gloves while my bare hands went back into my pockets.

This was the only shot that was worth all of this- and I'm still working on making it better in post-production. What I started with was muddy and dark without much distinction between sky and mountain. Each exposure needed to be at least 30seconds, even at ISO 25600 and f/8 for as much light and depth as possible. Luckily the sky had cleared just enough that even though stars were not quite visible to my human eyes, the camera was able to pick up their subtle light with such a long exposure and sensitive sensor setting. After 15 minutes of perfecting my settings and angles, my entire body started to feel the numbness of frostbite beginning to creep in, sending me back into my car to warm up and move on to find the other Stave Churches in the area.
The next Stave Church worth visiting seemed not too far away on the map, just across the river, but in the sleet and snow, curved mountainside roads, waiting for a ferry in the middle of the night when service was sparse, and getting lost a few times along the way, it actually took another 2.5 hours to access. Time was running short and the delirium of being awake for so long in the darkness was starting to wear on me.
When I finally reached the Kaupanger Stave Church, the light on the front of the building was almost too bright to create a proper long exposure image with enough detail. However, if I stopped down my aperture a bit more, I knew that light might also help provide some additional light for the scene. Again, I set up on a stone fence, protected the camera with my gloves, and tested different long exposures until I could create one with enough clarity and detail to work with in post-production.

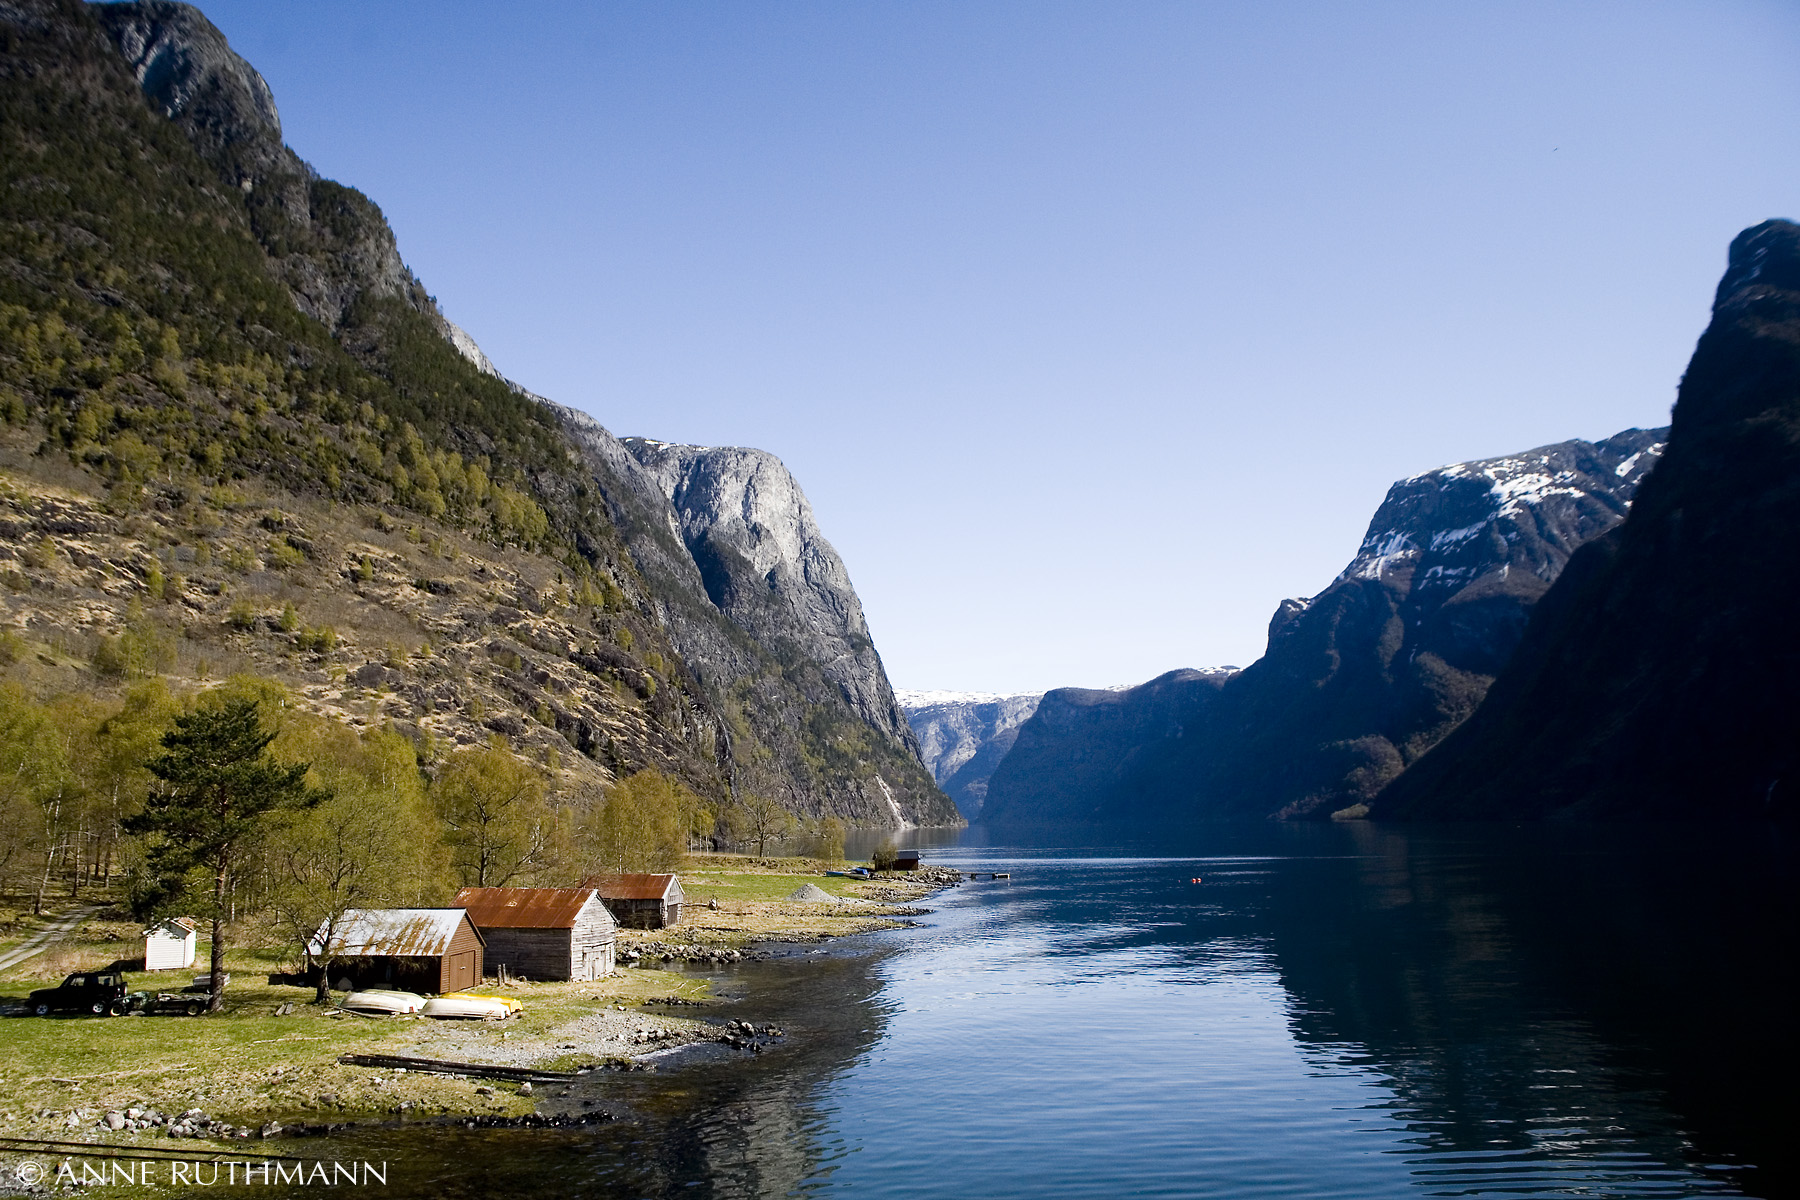
After the challenges of getting the car unstuck from snow, traveling up and down a mountainside full of ice, and resolving to do my best with what the night sky and darkness could allow, I decided to head back to Bergen on a different scenic route, hoping the soon to arrive sunrise would provide some beautiful river and mountain views along the way.
The extended forecast of rain and sleet did not provide the beautiful views I'd hoped for at all during the rest of my stay. Instead, I resolved to spend the rest of my time in Norway documenting and participating in the Hygge activities that keep native Norwegians happy and healthy in the winter months. I can assure you that driving icy roads and standing outside in the cold dark alone for a night exposure of an old Viking Church was nowhere on any of my Norwegian friend's lists of things they wanted to do. Such nonsense is only for the madness of an inspired and determined photographer.

What nature provided was cold, wet, foggy, and alternating between sleet and snow during my drive. The roads were slippery, which meant going half speed around winding mountainsides and feeling like I might never reach my destination before I'd have to turn back.
I drove for nearly 24 hours straight through the inner rural land of Norway. I found myself hypnotized by the long mountain tunnel lights with little more to look at than the passing of florescent beams overhead and grey mountain tunnel walls. The only people I encountered were tunnel workers, ferry workers, and the restaurant staff at AEgir Brewpub Flamsbrygga who provided a welcome respite from the dark winter isolation that comes with venturing off alone into the country when others stay cozy in their fireside homes.
In an attempt to get above the cloud line, I drove up two different mountainsides. The first time near the town of Flåm, resulted in my car being stuck in 2ft of snow as the depth of the ground under the snow cover did not match the rest of the road. I was alone on the side of a mountain with no shovel and no help. Just me, the bitter mountainside wind, and two right side tires lodged into deep snow. No cell service, no wifi. The closest home I could see if I needed to knock on the door was at least a mile down the side of the mountain on icy road. After a significant amount of shoveling with my boots and rocking the car back and forth to pack the snow for greater traction, I did get that car unstuck and made it safely back down the mountain. Despite this setback, I was still determined to see if another mountain top opportunity allowed for clear sky views. The cloud cover was low and made it appear as though an opening could still be found above.
In another attempt to get above the cloud line, I headed toward the Sogndal Airport which appeared to be on top of a mountain. I thought, surely an airport road will be well-cared for to allow safe passage to the top of the mountain. Half way up, my car stopped moving forward and started sliding backward on ice, even as my wheels spun forward. My heart started racing- how far back would it slide before stopping? Would I be able to control the direction of a backward moving car being pulled by gravity? Would the rear end be stopped and potentially crushed by trees or would I miss them all and go over the mountain? I asked spirit for help.
The car stopped. I took a deep breath and collected myself and evaluated my options. There was no safe place to turn around and the ice left me little promise of how much control I might have while turning. Either I continued to attempt forward momentum and overcome this icy stretch, or I reversed with less control. I inched forward, slid back further, inched forward, slid back further, and then inched forward again until the tires finally caught enough traction to recover all the forward momentum I'd lost and helped me reach the top of the mountain, albeit with white knuckles and knotted stomach. I just felt happy to be alive.
Never once did a car come from the opposite direction or from behind. The airport was not open and no flights were due in or out until the morning. The whole reason I endured two snowy icy mountain climbs was lost to more clouds. The clouds were too thick to see the night sky and by this time, I could not wait hours for clouds to pass because the drive back would likely take just as much time and I needed to return the car to the city by a certain time and get some much needed rest.
Just as I was feeling completely defeated, now realizing my next task would be to safely descend the mountain's icy roads without losing control of the car, my phone started sending me alerts. The outside world reminded me that I wasn't really alone in this moment of defeat. Apparently there was an open WiFi connection at the airport and the phone had automatically connected. How should I take advantage of this brief moment of connection with the outside world I had along this journey?
At the very least, I could send an update to family about my circumstance and suggest how long they should wait to hear from me again before being concerned about my safety. I updated my digital maps and GPS orientation, viewed the roads I might take back and what different challenges they might present. I figured out how tell the tunnel roads apart from the regular roads on the map to avoid the many tunnels that made it difficult to stay awake and focused on the road. I checked the satellite cloud cover movement and reached resolve that I would not see Northern Lights on this trip. That resolution also gave me the renewed drive to widen my focus from being so narrow and capture what normally would not be available in more ideal conditions.
The trip back down the mountain unfolded with much more control. I stayed slow and measured, never letting gravity control the car so that the tires could always grip some part of the road and ice. Slow and steady. Meter by meter. Safely back to flat ground and to finish the rest of this journey, embracing more of what nature would allow in the conditions provided, rather than what my humanistic determination would seek to force upon nature. I was grateful I was safe, still had plenty of gas, working heat in the car, and renewed alertness to continue moving forward now 14 hours into my journey into rural Norwegian winter.
Having fully accepted that Northern Lights would likely not be possible, I turned my attention to the Stave Churches along my path, preserved and occasionally reconstructed faithfully by modern architects and historic preservationists. Anything I could get of a few Stave Churches would be better than returning empty handed without images to show for all the effort and problem solving I'd already invested into this trip.
When I considered how much time I had left before I needed to drive back to Bergen, it became clear that my only opportunity to photograph any of the historic Viking Church designs in the middle of the country was going to need to happen in the dark. Not just in the dark, but in the freezing cold winter dark. This also meant standing outside for long periods of time to monitor long exposures, as well as battery and camera performance in freezing cold weather. So be it. These are the conditions I would need to create something beautiful in, regardless of what I had originally intended.
When I arrived at the Borgund Stave Church, the only light available to separate the dark church from the dark sky was essentially the light of the partial moon reflecting off the snow at a low angle. There were a few spotlights designed to highlight one portion of the back of the building, but not the side of the building that was most appealing to me and what I wanted to create. The newly fallen snow covered any previous tracks left behind in the cemetery, creating a perfect blanket on which the headstones could form leading lines in the foreground to compliment the converging mountain sides falling to the river behind the church. I found my position and was able to support the long-exposures with the stability of the stone fence and my camera resting on my gloves while my bare hands went back into my pockets.

This was the only shot that was worth all of this- and I'm still working on making it better in post-production. What I started with was muddy and dark without much distinction between sky and mountain. Each exposure needed to be at least 30seconds, even at ISO 25600 and f/8 for as much light and depth as possible. Luckily the sky had cleared just enough that even though stars were not quite visible to my human eyes, the camera was able to pick up their subtle light with such a long exposure and sensitive sensor setting. After 15 minutes of perfecting my settings and angles, my entire body started to feel the numbness of frostbite beginning to creep in, sending me back into my car to warm up and move on to find the other Stave Churches in the area.
The next Stave Church worth visiting seemed not too far away on the map, just across the river, but in the sleet and snow, curved mountainside roads, waiting for a ferry in the middle of the night when service was sparse, and getting lost a few times along the way, it actually took another 2.5 hours to access. Time was running short and the delirium of being awake for so long in the darkness was starting to wear on me.
When I finally reached the Kaupanger Stave Church, the light on the front of the building was almost too bright to create a proper long exposure image with enough detail. However, if I stopped down my aperture a bit more, I knew that light might also help provide some additional light for the scene. Again, I set up on a stone fence, protected the camera with my gloves, and tested different long exposures until I could create one with enough clarity and detail to work with in post-production.

After the challenges of getting the car unstuck from snow, traveling up and down a mountainside full of ice, and resolving to do my best with what the night sky and darkness could allow, I decided to head back to Bergen on a different scenic route, hoping the soon to arrive sunrise would provide some beautiful river and mountain views along the way.
The extended forecast of rain and sleet did not provide the beautiful views I'd hoped for at all during the rest of my stay. Instead, I resolved to spend the rest of my time in Norway documenting and participating in the Hygge activities that keep native Norwegians happy and healthy in the winter months. I can assure you that driving icy roads and standing outside in the cold dark alone for a night exposure of an old Viking Church was nowhere on any of my Norwegian friend's lists of things they wanted to do. Such nonsense is only for the madness of an inspired and determined photographer.